



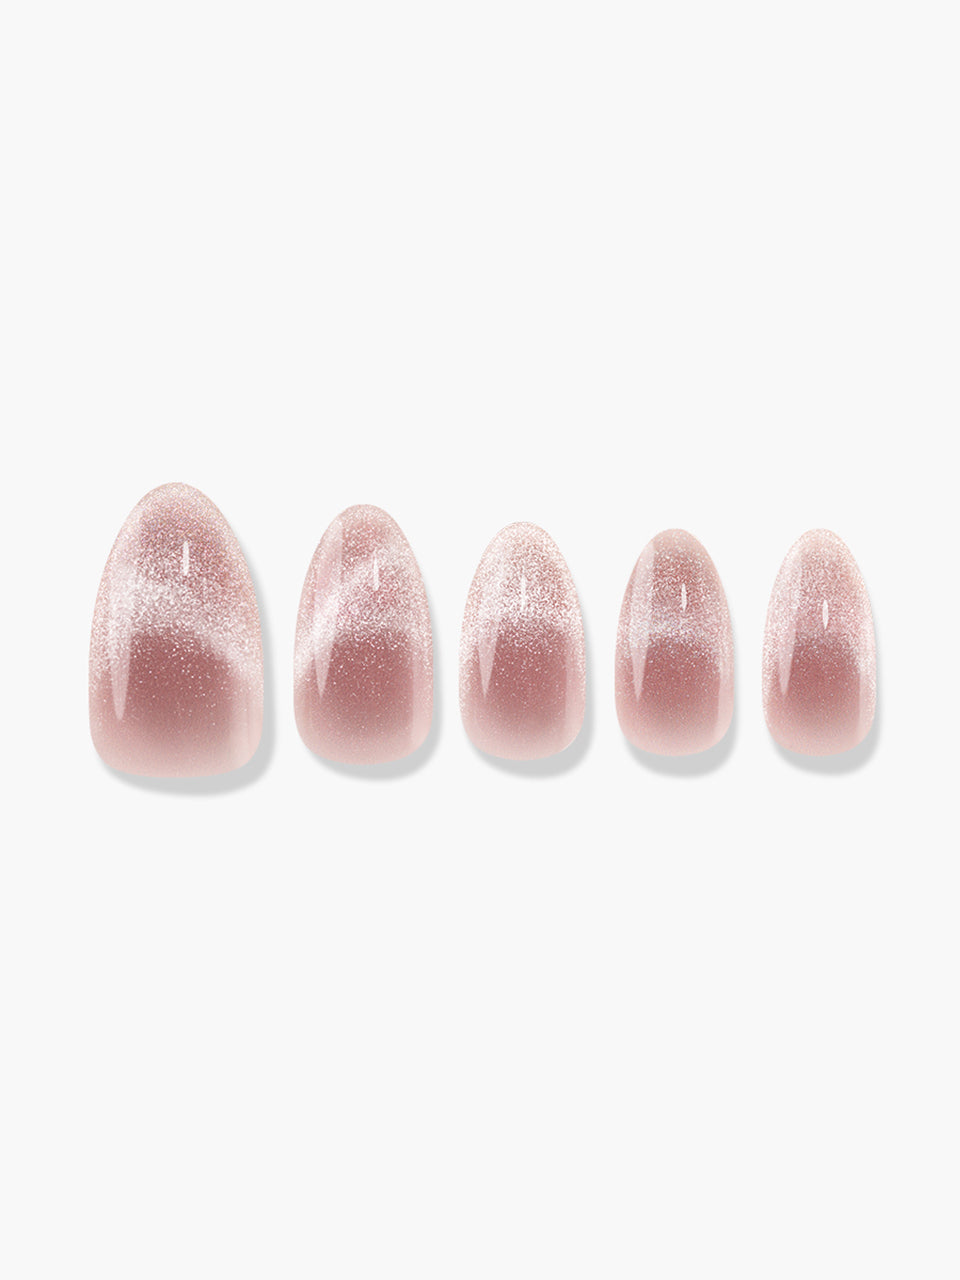
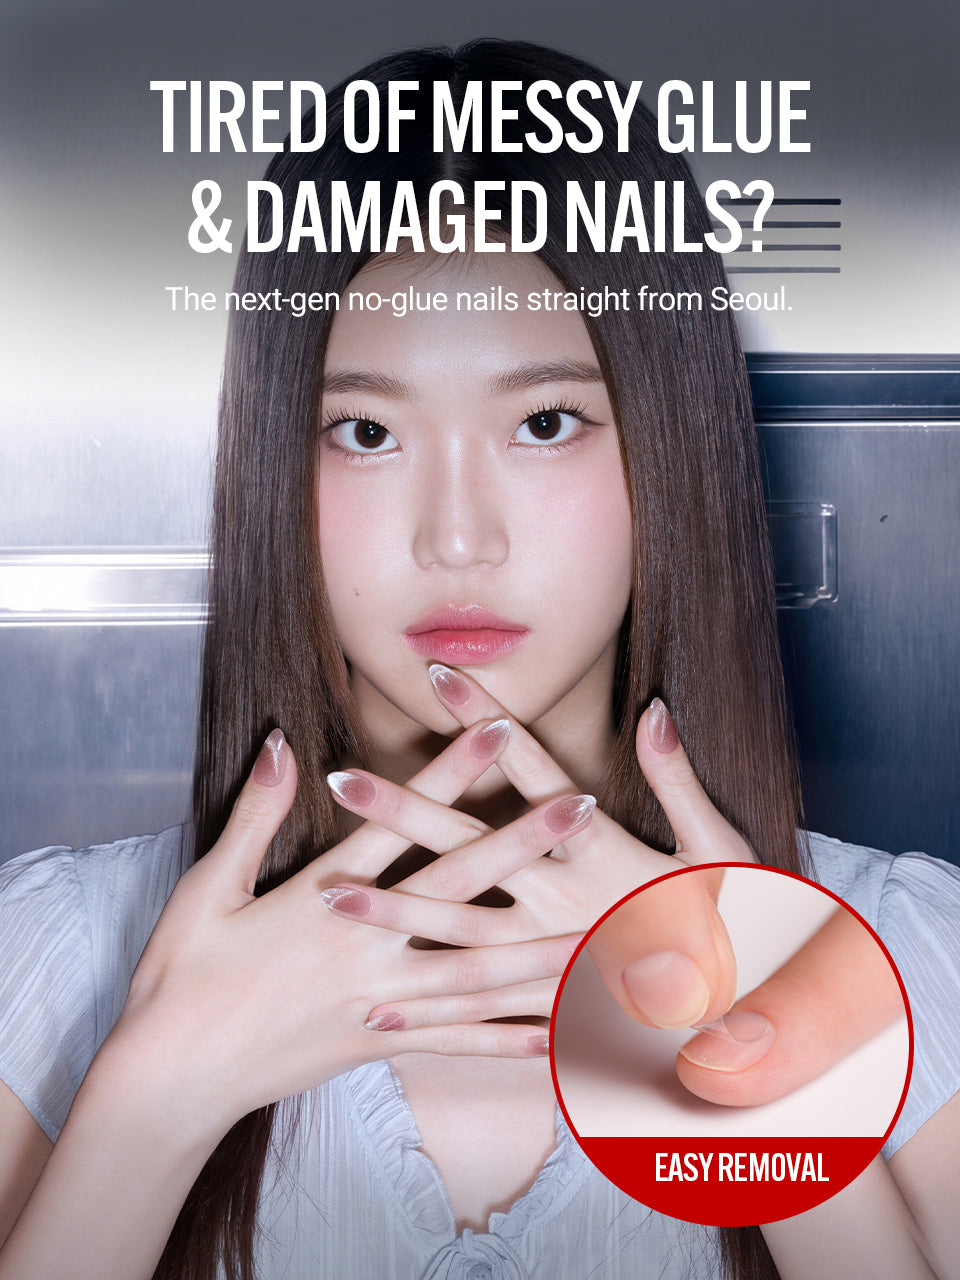
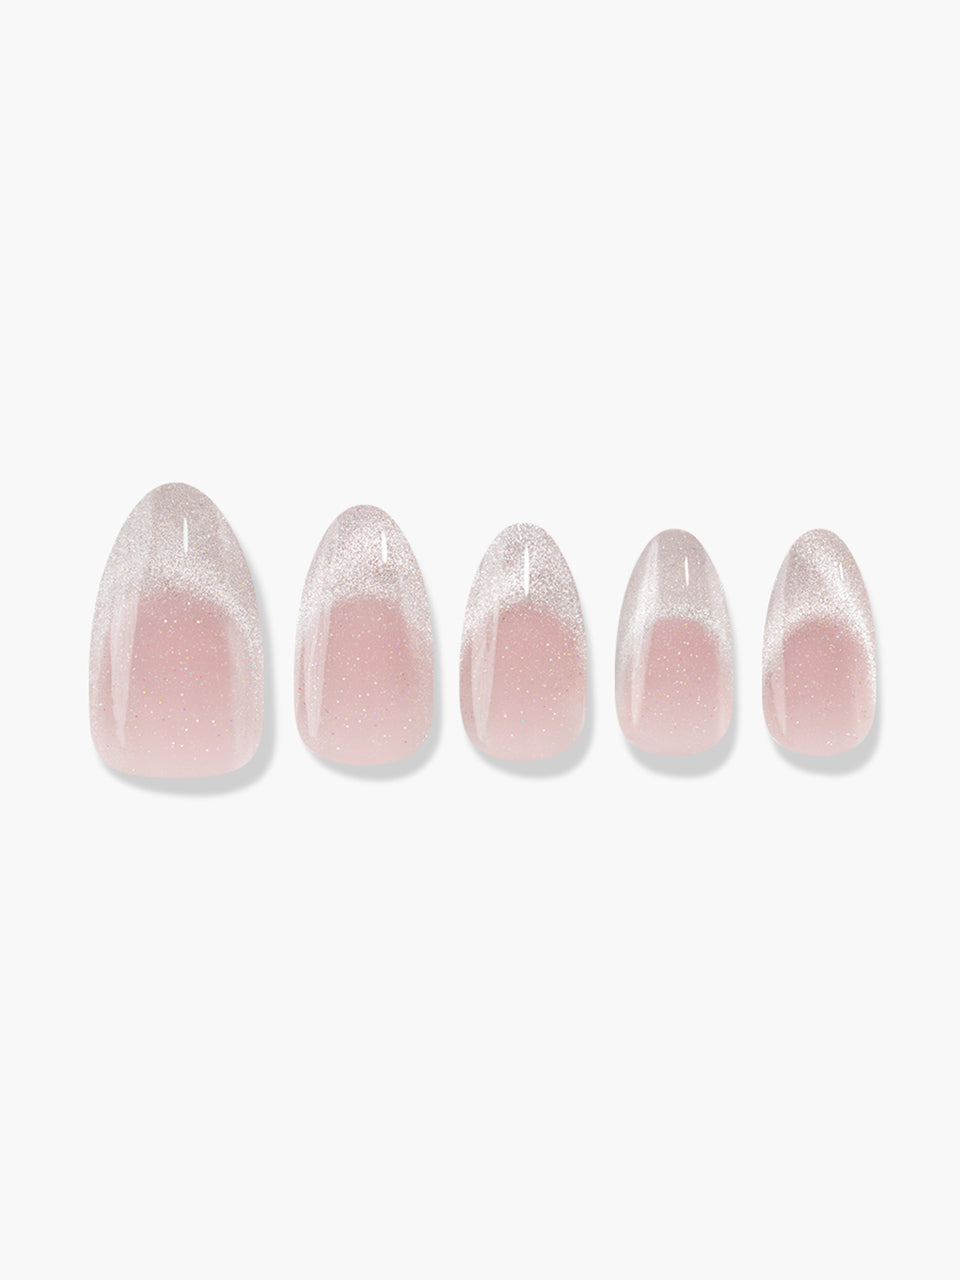
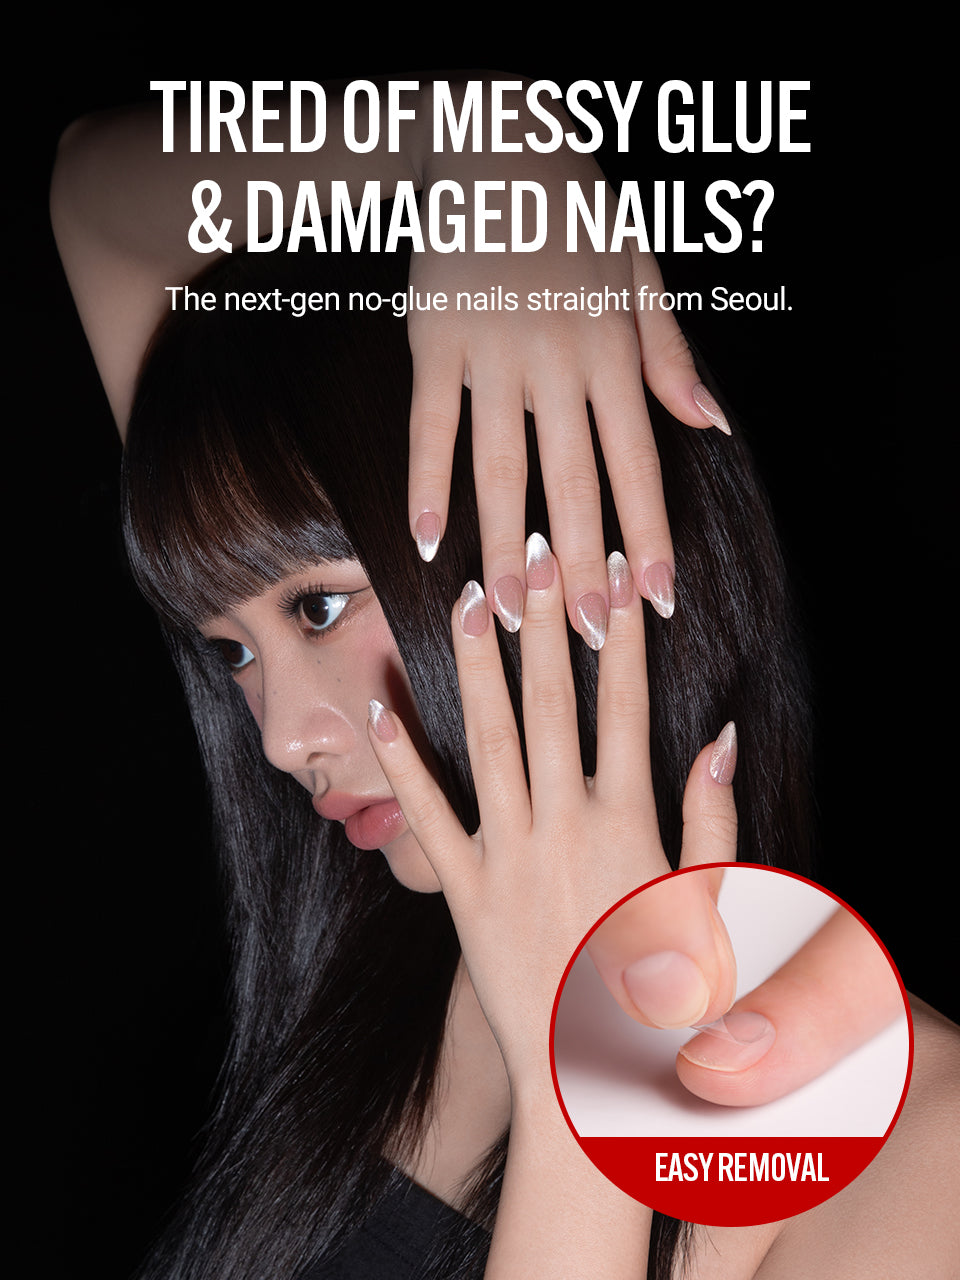

HOW TO
APPLY

STEP 1

STEP 2

STEP 3

STEP 4

STEP 1
- After washing your hands or feet, use the enclosed prep pad to thoroughly remove any oil and moisture from your nails.
- The cleaner and drier your natural nails are, the better the press-on nails will adhere.

STEP 2
- Once the alcohol from the prep pad has completely dried, select the adhesive sticker that best fits your fingernail or toenail from the enclosed set.
- Apply the adhesive sticker to your nail, making sure the pull tab is positioned toward the tip (outer edge) of your fingernail or toenail.
TIP
- Make sure the adhesive tab does not extend beyond your natural nail.
Choose the size that fits entirely within your nail.

TIP
- Make sure the adhesive tab does not extend beyond your natural nail.
Choose the size that fits entirely within your nail.

STEP 3
- Hold the pull tab and peel off the protective film from the adhesive sticker.
- Then, align the press-on nail in the correct direction and press it firmly onto the adhesive sticker to secure it in place.
TIP
- For the best fit, choose a press-on nail tip that is the same size as or slightly smaller than your natural fingernail or toenail.
- Using a tip that is larger than your natural nail may reduce wear time.

TIP
- For the best fit, choose a press-on nail tip that is the same size as or slightly smaller than your natural fingernail or toenail.
- Using a tip that is larger than your natural nail may reduce wear time.

STEP 4
- Lightly file the tip of the nail with the included mini nail file for a clean, finished look.
- For longer-lasting wear, avoid getting your nails wet for 2–3 hours after application.
STEP 1
PREP
STEP 2
APPLY
STEP 3
PRESS
STEP 4
FILE

STEP 1. PREP YOUR NAILS
- Wash your hands with soap, and completely dry.
- Thoroughly wipe nails with the prep pad. (Do not skip this part!)
- Buff your nail plates with an enclosed nail file before wiping them off to make it last longer.
* Rough nail surface would enhance adhesion.
TIP
Use FINGER SUIT Cuticle Oil Pusher to clean
the cuticle line before application.

TIP
Use FINGER SUIT Cuticle Oil Pusher to clean
the cuticle line before application.

STEP 2. APPLY
- Choose a tip little smaller than the actual nail size.
- Remove a clear film and apply the tip.
TIP
- Align Film sides of tips with cuticles
- Leave a small gap between the cuticle and the tab when applying.

TIP
- Align Film sides of tips with cuticles
- Leave a small gap between the cuticle and the tab when applying.

STEP 3. PRESS
- Firmly press the tip on all angles, and make sure the tip doesn’t cover your cuticle line.
- Avoid using any lotion or contact with water for 1-2 hours after application.
STEP 4. FILE

- File down the tips for clean finish.

TIP
Using FINGER SUIT care tools on all steps will enhance the quality, durability and comfortability of the result.